Home
Tips - Charging Riding Mower Battery
The following steps will walk you through recharging the 12v battery
on the riding mower. The steps assumes everything works
correctly. If you run into problems, the battery charger user
guide is in the large House Manuals binder, or you can see it online
here.
-
Park the mower near a power outlet, and make sure it's turned off.
Presumably you'll be using a power outlet in the garage, although
any will do. (There's an outlet in the pumphouse if needed.)
-
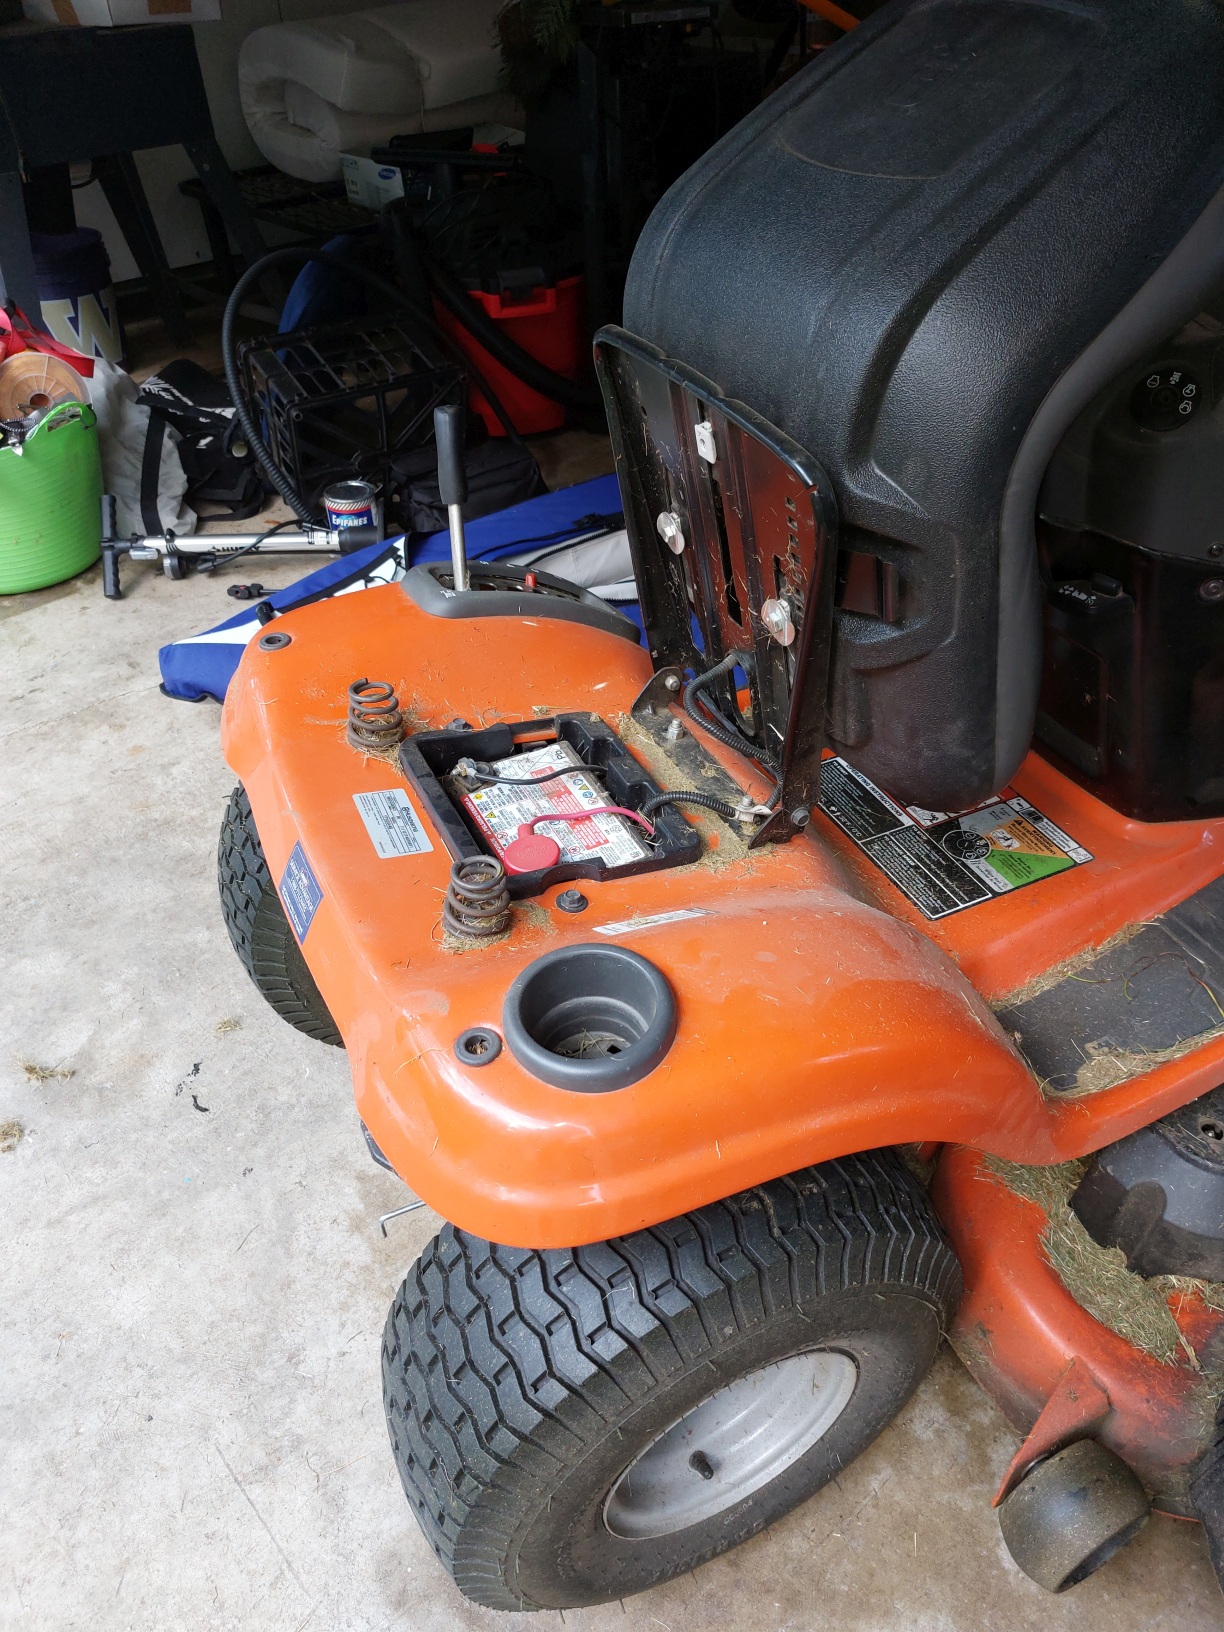 Uncover the 12V battery by pushing the top of the seat forward towards
the steering wheel.
Uncover the 12V battery by pushing the top of the seat forward towards
the steering wheel.
-
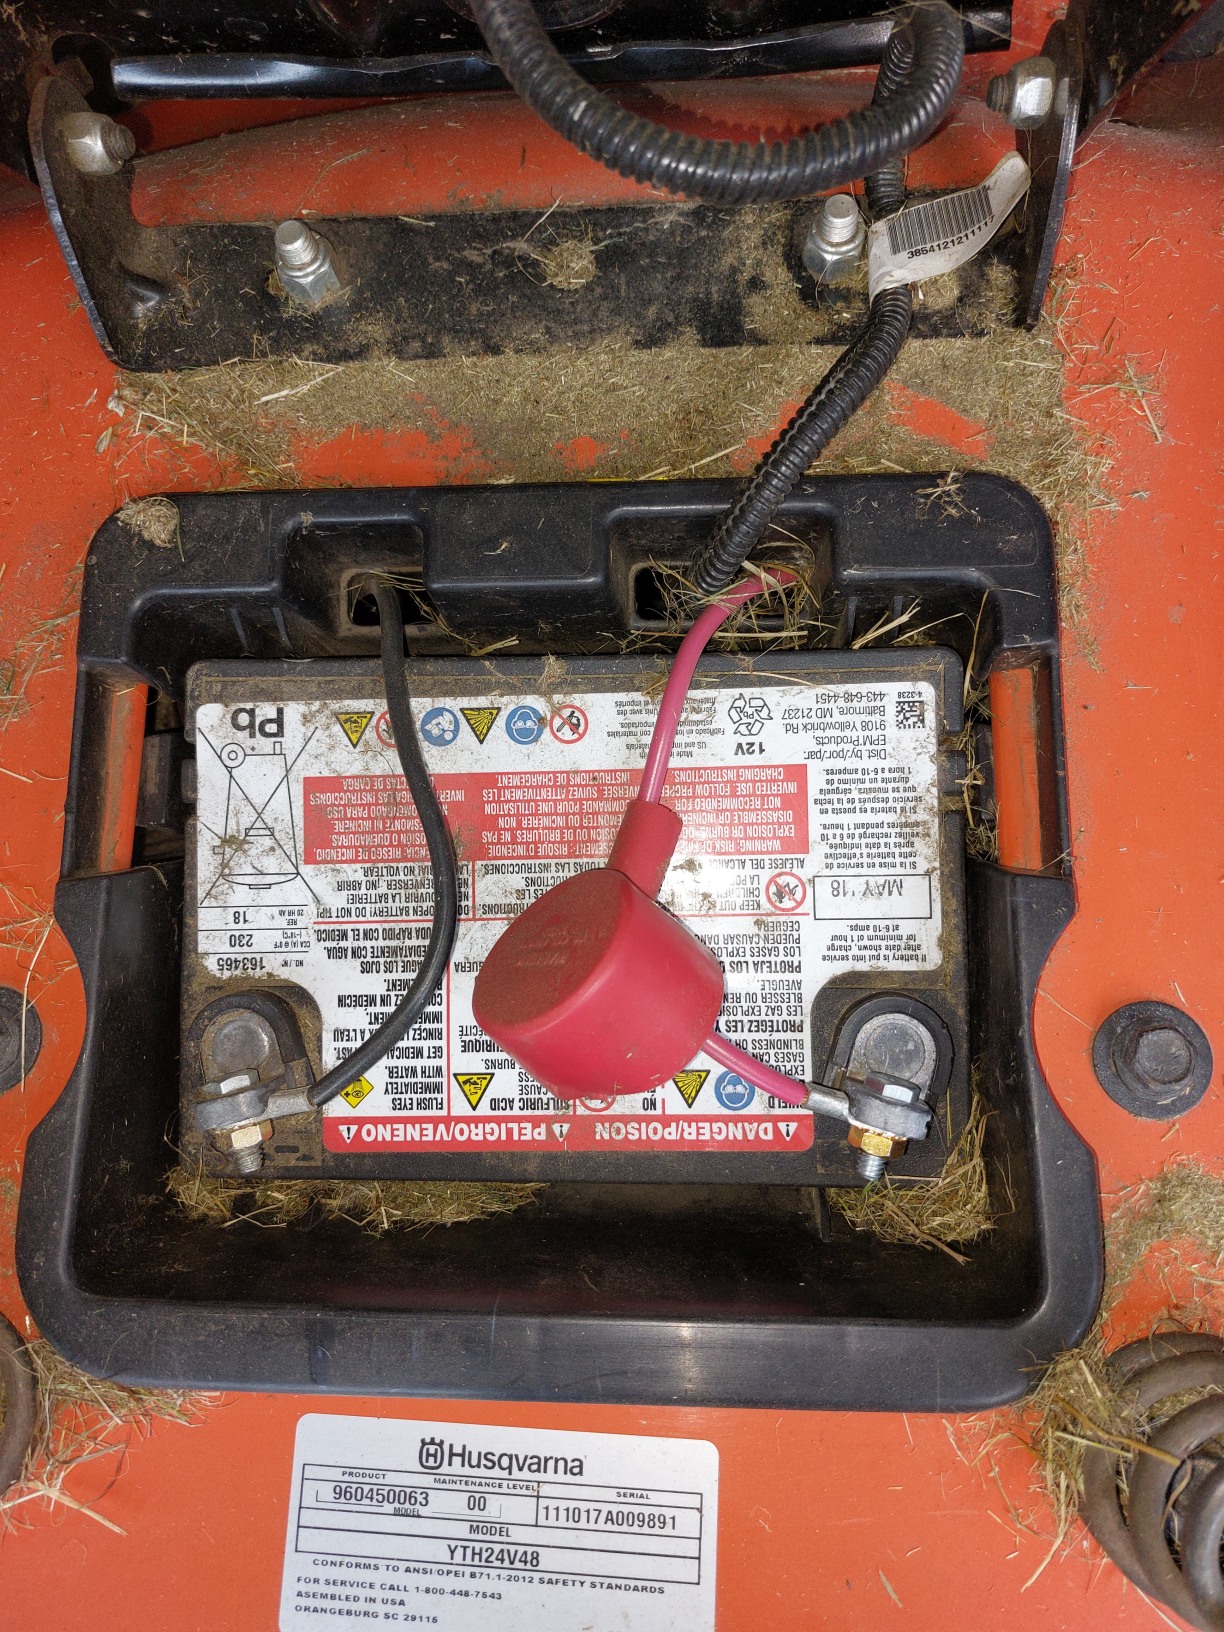 Looking down at the top of the battery you'll see a black wire going
to the uncovered negative terminal, and a red wire going to the (red)
covered positive terminal. Carefully remove the red cover to expose
the positive terminal - as shown in the pic.
Looking down at the top of the battery you'll see a black wire going
to the uncovered negative terminal, and a red wire going to the (red)
covered positive terminal. Carefully remove the red cover to expose
the positive terminal - as shown in the pic.
-
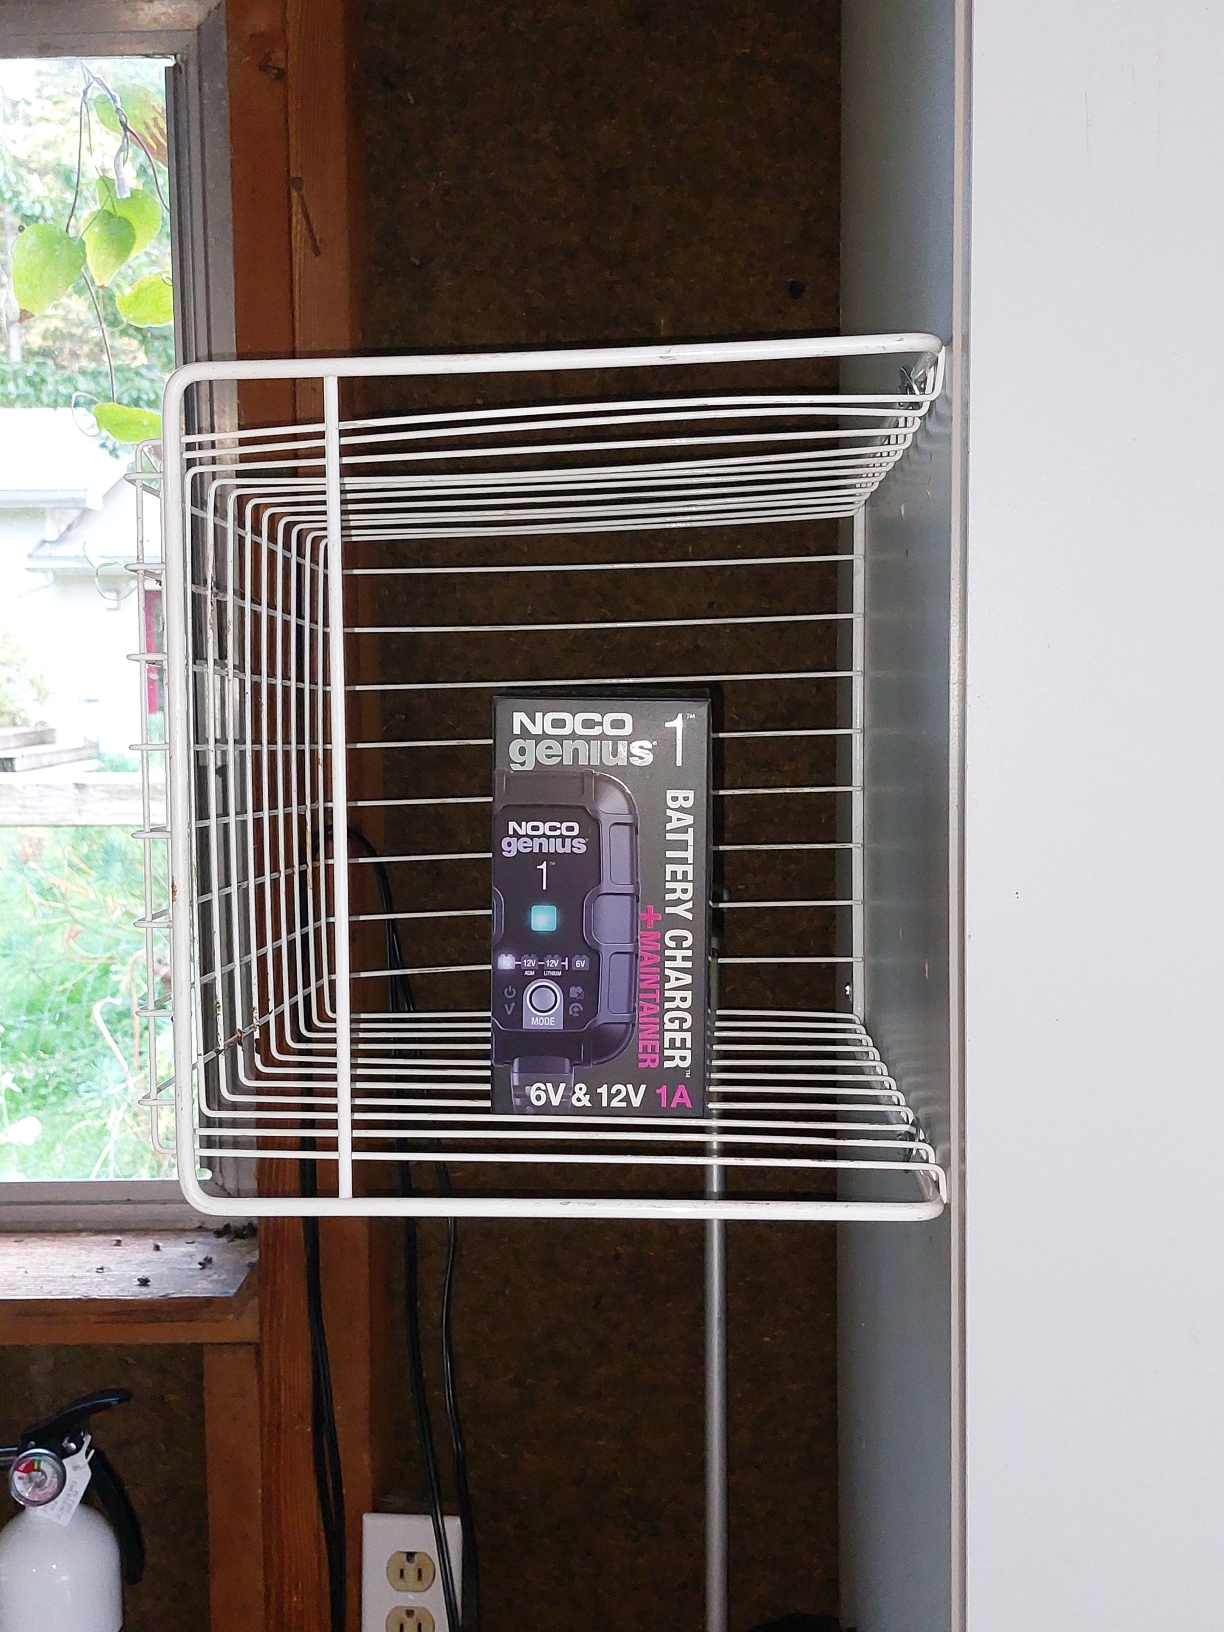 Grab the small black cardboard box that contains the NOCO Genius1
battery charger. It should be in the cage in the
garage - as shown in the pic.
Grab the small black cardboard box that contains the NOCO Genius1
battery charger. It should be in the cage in the
garage - as shown in the pic.
-
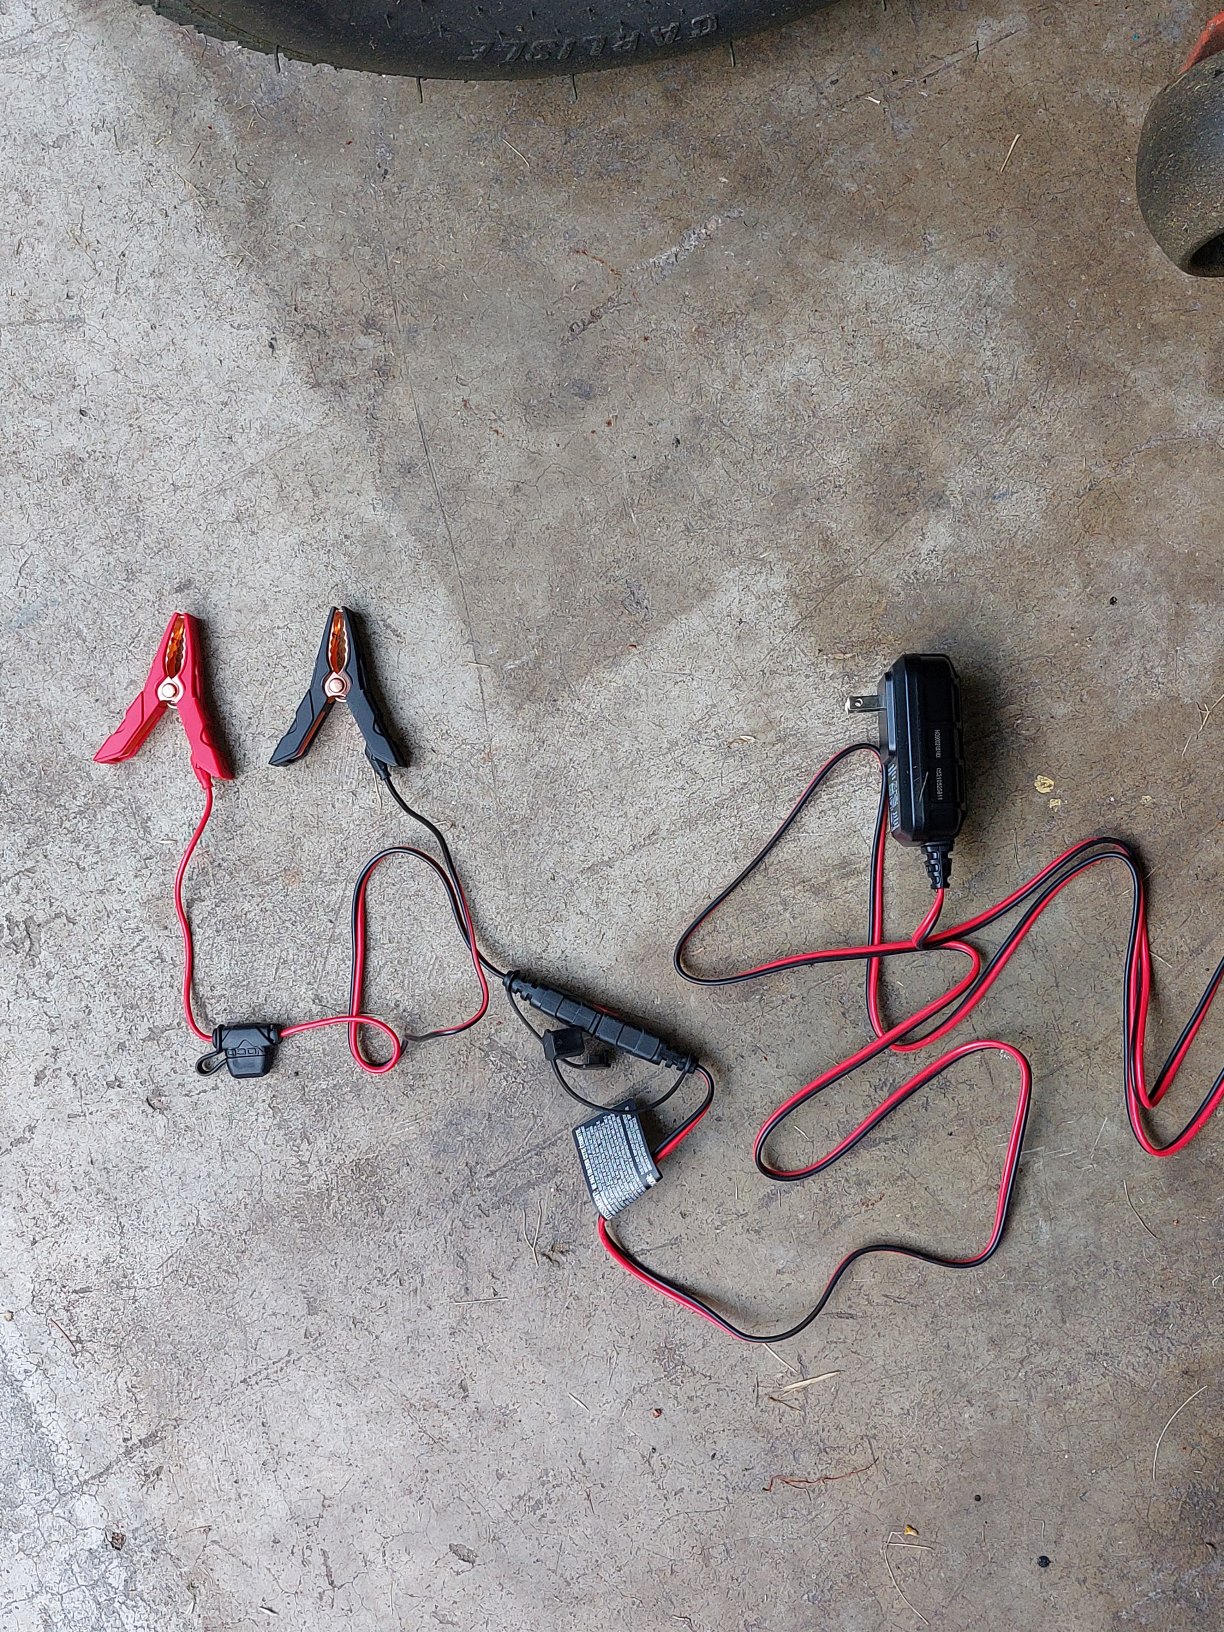 Open the box and remove the charger. It should look like the pic.
-
 Attach the black clamp to the black negative terminal. Attach the
red clamp to the red positive terminal.
It should look like the pic.
Attach the black clamp to the black negative terminal. Attach the
red clamp to the red positive terminal.
It should look like the pic.
-
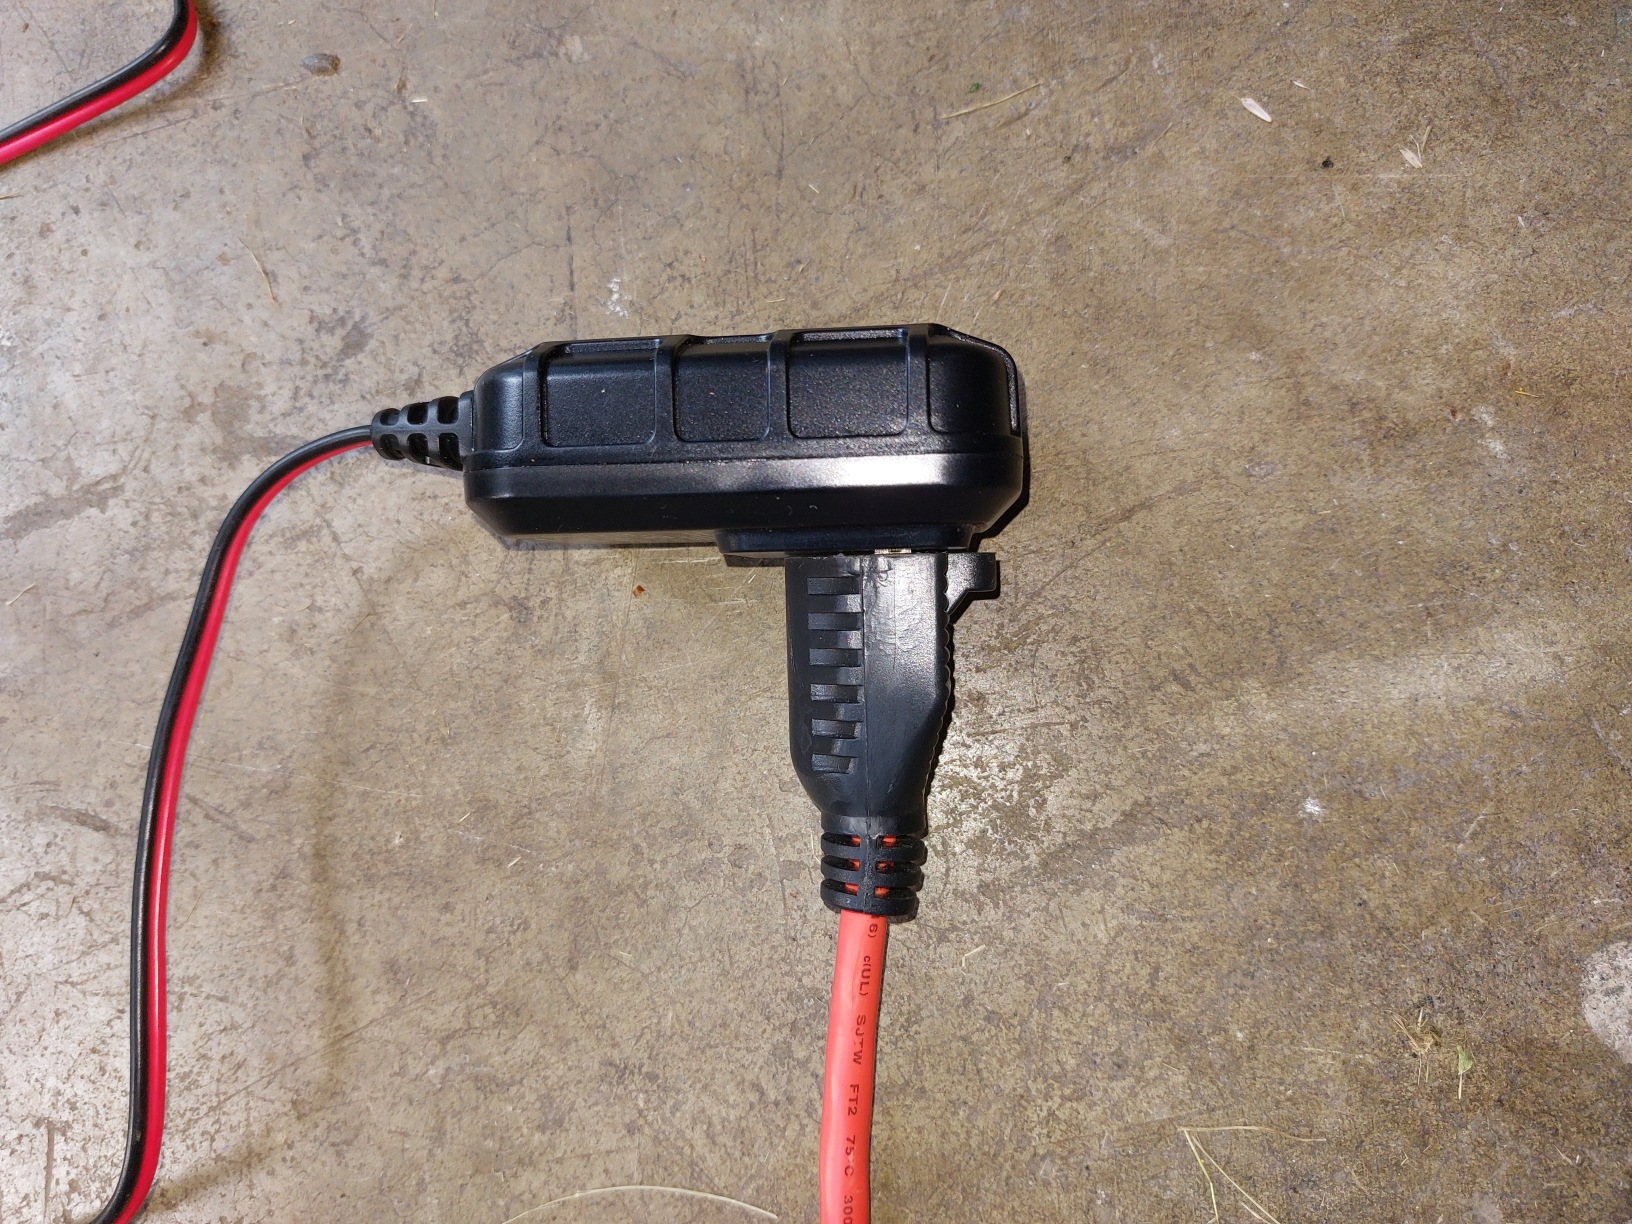 Now plug the "other" end of the charger into an outlet. In the pic
to the right I've plugged it into an extension cord, which is then
plugged into an outlet.
Now plug the "other" end of the charger into an outlet. In the pic
to the right I've plugged it into an extension cord, which is then
plugged into an outlet.
-
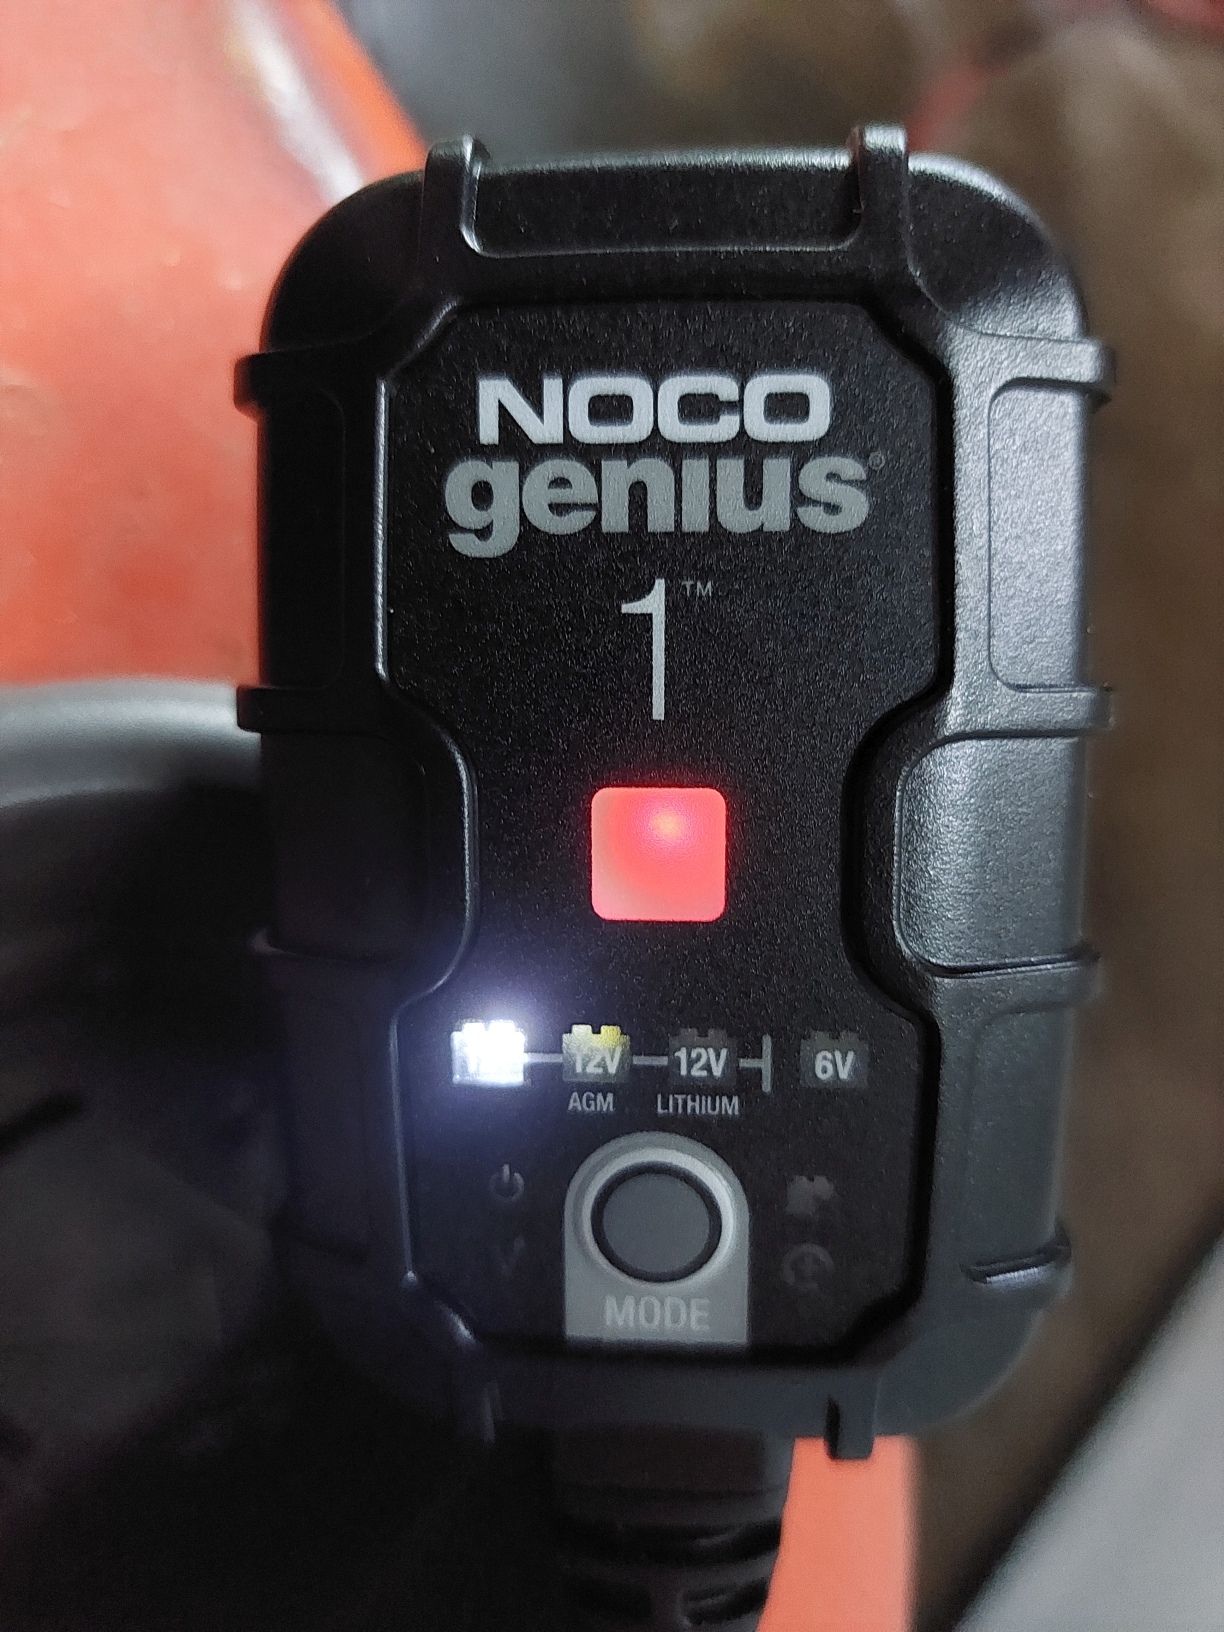 The left-most 12V "mode" indicator should light ... in the pic it's
the very bright white light. Also, the square "charge led" should
show red, as seen in the pic. This charge led will slowly pulse
red on and off when the battery is less than 75% charged. When it starts
pulsing green, then the battery is almost charged. When it's solid
green the battery is fully charged. The charger will not over-charge
the battery, so it's ok to leave it charging overnight.
The left-most 12V "mode" indicator should light ... in the pic it's
the very bright white light. Also, the square "charge led" should
show red, as seen in the pic. This charge led will slowly pulse
red on and off when the battery is less than 75% charged. When it starts
pulsing green, then the battery is almost charged. When it's solid
green the battery is fully charged. The charger will not over-charge
the battery, so it's ok to leave it charging overnight.
-
 Once the battery is charged the charge led will be green. Unhook the
charger in the reverse of the hookup order:
Once the battery is charged the charge led will be green. Unhook the
charger in the reverse of the hookup order:
- Unplug the charger from the outlet (or extension cord)
- Detach the red clamp from the positive battery terminal
- Detach the black clamp from the negitive battery terminal
-
 Put the red cap back over the positive battery terminal, then lower
the seat back down again.
Put the red cap back over the positive battery terminal, then lower
the seat back down again.
-
Pack up the battery charger into its black box, and put the box
back in the cage.